
In this article, we will discuss capacitors as capacitors are used in almost every electrical device. Capacitors are comprised of two or more conducting portions separated by an insulating substance.
The capacitor is an electronic device with the ability to store energy in the form of an electrical charge that results in a potential difference across its plates, much like a tiny rechargeable battery.
Capacitors exist in a wide range of sizes from very small capacitors used in resonance circuits to massive power factor correction capacitors.
Along with this, we will also go over How to Test a Capacitor With A Multimeter, as well as a capacitor’s capacitance and resistance.
Fundamentals of capacitor testing
Capacitors are a common component of all equipment, providing a variety of purposes including bypassing, charging, filtration, and routing electronic circuits. Their capacitance value, voltage rating, temperature coefficient, and leakage resistance must be characterized for them to be practical, though. Although many of the electronics producers who include capacitors in their products also carry out these tests as quality checks.
To test the capacitor’s capacitance and resistance we need a device called as Multimeter. Multimeters can also be used to measure voltage and current.
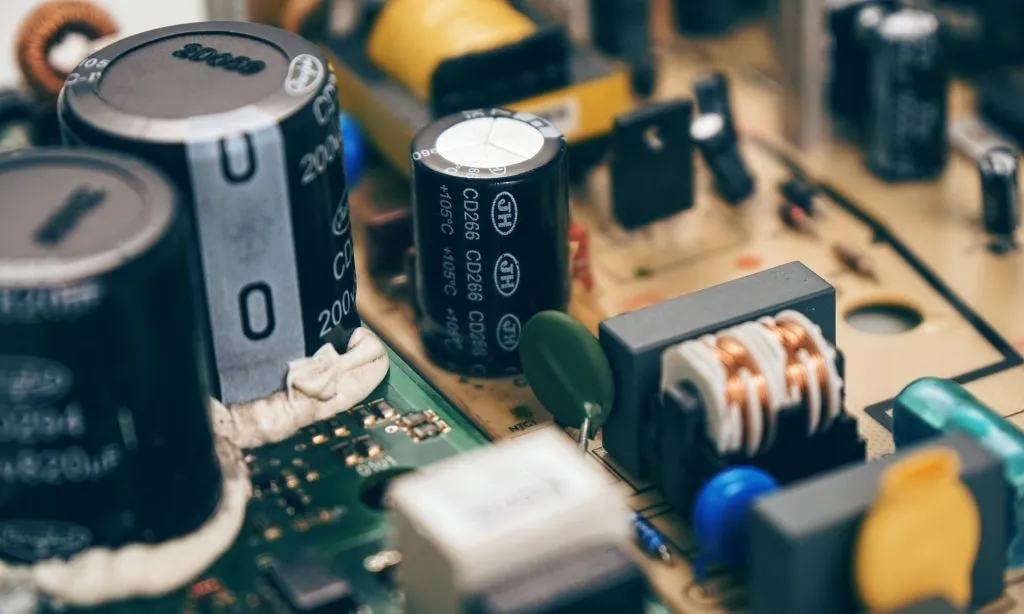
Capacitor
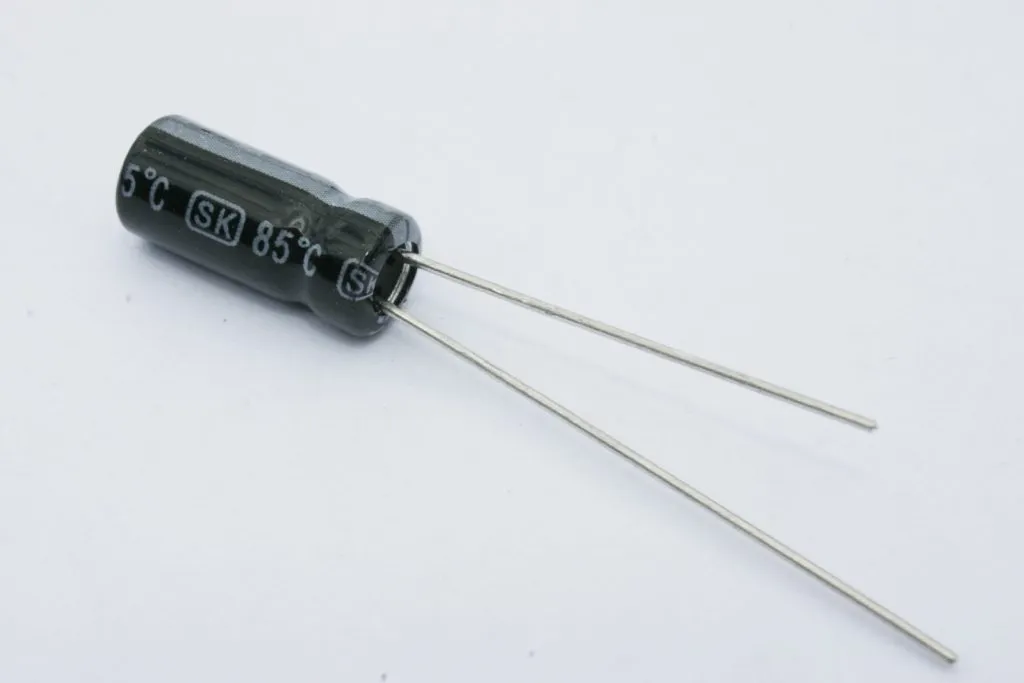
A capacitor is a device that stores electric energy in the form of an electric charge. It can start storing charge when it is connected to the power source. It is made up of two conducting plates that are placed with a small gap between them. These conducting plates are also called electrodes. The plates are made up of aluminum, silver, or any other metal.
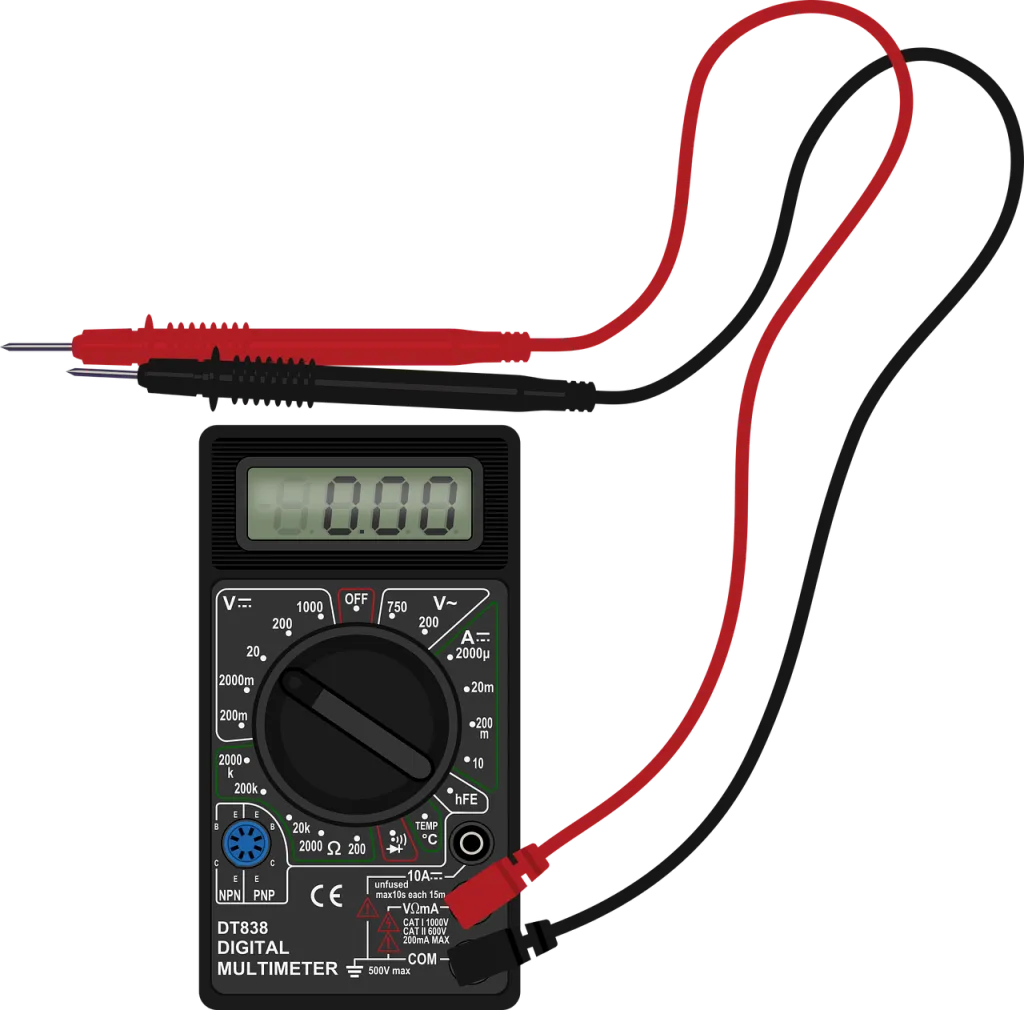
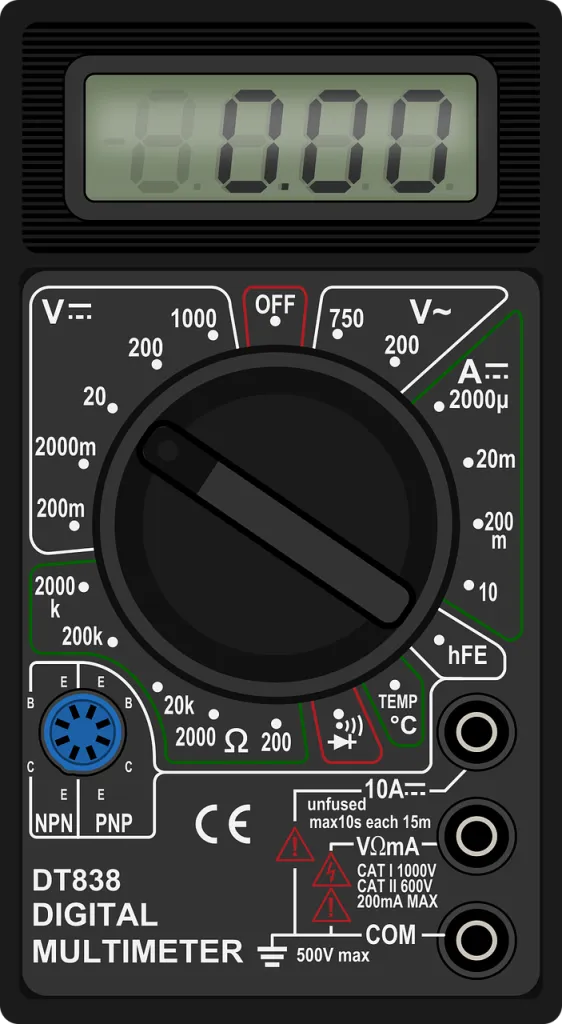
Multimeter
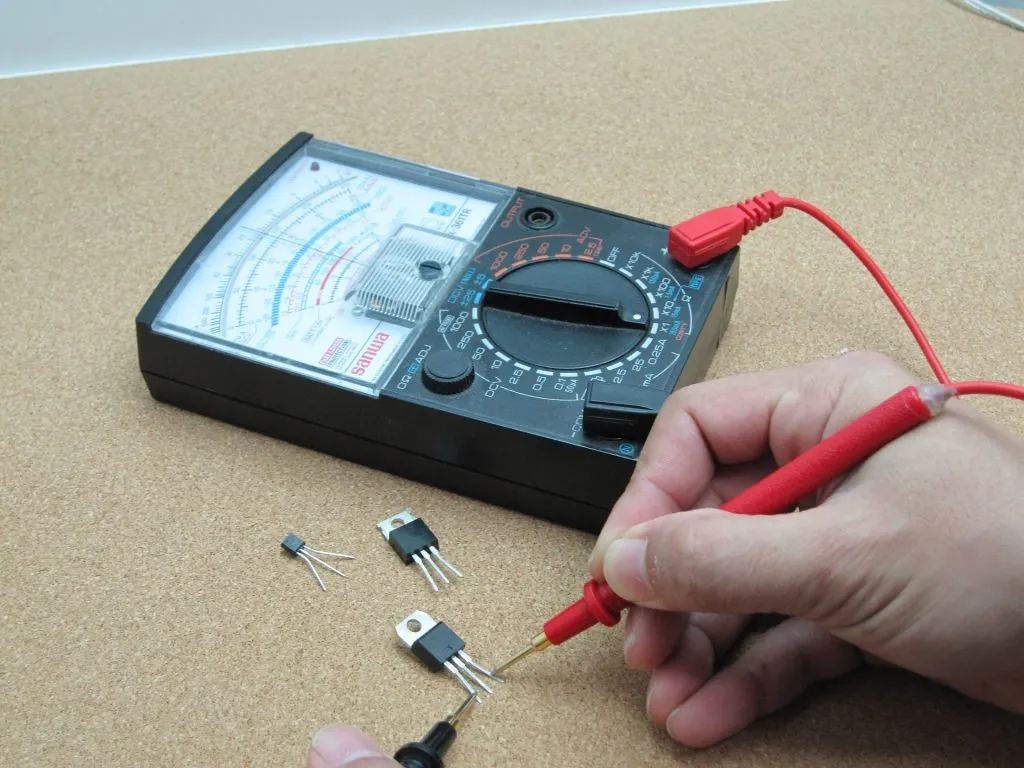
A Multimeter also called as volt/ohm meter (VOM), is an electronic measuring device that is used to measure voltage, current, and resistance.
How to Test a Capacitor With A Multimeter
There are two methods/ways that you can utilize to test a capacitor with a multimeter. Please try the one that is more comfortable and understandable for you.
Method 1: Testing the Capacitance of the capacitor through a Multimeter
Capacitance: The ability of a device to store electric charge is known as capacitance. The ratio of those two values is used to calculate the change in charge in response to an alteration in electric potential. Two concepts of capacitance that are widely understood are self-capacitance and mutual capacitance. Self-capacitance is a property of electrically chargeable objects that can be observed by measuring the electric potential between the charged object and the ground. Measurement of the mutual capacitance between two components is crucial for the capacitor’s performance.
Precaution: It is very important to use precautions before touching electrical devices like capacitors as capacitor stores an electric charge and may remain energized after power is removed.
- Wear appropriate personal protective equipment.
- The power source should be removed before testing the capacitor
- After power is removed, connect a 20k Ω, 5-watt resistor across the capacitor terminals for five seconds to confirm the capacitor is fully discharged.
- Use a Multimeter to confirm that the power source is OFF
- carefully discharge the capacitor by connecting a resistor across the leads
The following steps can be used to check the capacitor:
Step 1: Analysing the Capacitor

Visually analyze the capacitor. If the capacitor leaks, cracks, bulges or other signs of deterioration are evident, replace the capacitor.
Step 2: Discharge Capacitor
To measure the capacitor accurately, the capacitor will need to be removed from the circuit. Discharge the capacitor as described in the precautions above.
Step 3: Leads/Pins of Multimeter
There are two leads in Multimeter the negative lead and the positive lead. The positive lead is called Anode and the negative lead is called Cathode. Check the leads of the multimeter if the lead is broken.
Step 4: Multimeter Adjustment
Set the multimeter to measure AC voltage, If the capacitor is used in an AC circuit and If the capacitor is used in a DC circuit then set the multimeter to DC voltage.
Step 5: Discharge Capacitor
To measure the capacitor accurately, the capacitor will need to be removed from the circuit. Discharge the capacitor as described in the precautions above.
Step 6: Testing Capacitor through Multimeter
Now, to test the capacitor place the negative lead of the Multimeter to the negative terminal of the capacitor and the positive lead to the positive terminal of the capacitor and set the Multimeter to above 10k and 1m ohms. Alter placing both terminals of the Multimeter look at the Multimeter it will give some reading and then it will return to the OL. Perform this operation three to four times to get the actual result.
Step 7: Multimeter Results
After performing this operation several times if the meter shows the same results it means the capacitor is working properly and is in good condition. If there is no change in the Multimeter it means the capacitor is faulty.
Method 2: Testing the Resistance of the capacitor through Multimeter
Resistance: In a DC circuit, an inductor’s resistance is seen as a short connection, but a capacitor’s resistance is seen as an open connection. In other words, it would be wasteful to use capacitors or inductors in a perfect DC circuit. Despite this, they are nevertheless employed in actual circuits since they never function with ideally constant voltages and currents. We can check the condition of a capacitor through the resistive mode of the multimeter whether it is faulty or not.
The following steps can be used to check the capacitor:
- The capacitor should be removed from the electric circuit
- To completely discharge the capacitor connect it across a resistor and remove the capacitor thereafter for testing.
- Set the Multimeter to 1kΩ and Twist the selection knob.
- Connect the leads of the multimeter probes to the positive and negative terminals of the capacitor to be tested. Current flows through the capacitor, and the capacitor starts charging.
- In the case of a digital multimeter, a series of values will appear on the display panel, increasing in order and finally settling at infinity.
- If the displayed values rise from a very low value and progress towards infinity, it shows the charging action of the capacitor, ensuring that the capacitor works fine.
- The very low value displayed in Multimeter shows that the capacitor has a SHORT, and a constant very high value indicates that the capacitor is OPEN and may be replaced in both cases.
In Case of an Analog Multimeter
- The capacitor functions well If the needle points at a very low value and propagate toward a high value.
- The capacitor will have a fault, if the needle is stuck at a very low value, and if it is stuck at a very high value, the capacitor may be OPEN and needs to be replaced in both cases.
Note: Keep in mind that a polar capacitor should not be connected to the AC supply. On the other hand, a non-polar capacitor can be attached to the DC supply because they are back-to-back electrolytic capacitors. Non-polar capacitors can be operated on both AC and DC supplies while polar capacitors only operate on DC.
Conclusion
In this article, we discussed about capacitors, Capacitance, Resistance, multimeters, and Capacitor testing through multimeters. If there is any suggestion or queries regarding this article, you can ask in the comment section.